Ubuntu 18.04 Set Static IP

Ubuntu 18.04 Set Static IP
Ubuntu 18.04 LTS Server using new IP addresses configuring method. For network configuration Ubuntu 18.04 uses Netplan
Netplan’s configuration files use the YAML format.
Netplan configuration files can be found in: /etc/netplan/ directory.
In this tutorial we will configure static IP address in Ubuntu 18.04 LTS server.
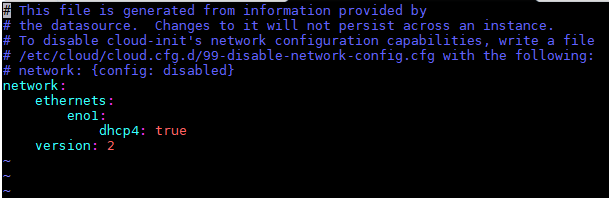
Default network configuration file 50-cloud-init.yaml can found in /etc/netplan/ directory:
![]()
In this case my network card eno1 interface configured to obtain IP address from the DHCP server:
# vi /etc/netplan/50-cloud-init.yaml
Configure Static IP Address
Lets configure static IP address on eno1 interface. For example I will set:
IP address - 10.110.12.22
Netmask - 255.255.0.0
Gateway - 10.110.0.1
DNS Servers - 8.8.8.8, 8.8.4.4
In netplan we should combine IP address and netmask into one line. For example:
addresses: [10.110.12.22/16]
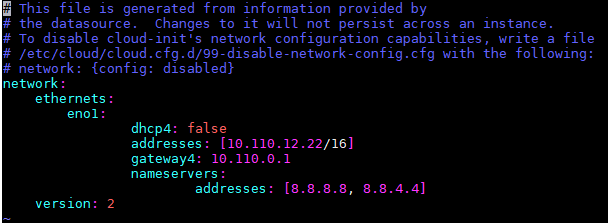
/etc/netplan/50-cloud-init.yaml file configuration example:
network:
     ethernets:
           eno1:
                 dhcp4: false
                 addresses: [10.110.12.22/16]
                 gateway4: 10.110.0.1
                 nameservers:
                         addresses: [8.8.8.8, 8.8.4.4]
     version: 2
Save edited file, and apply new network configuration by netplan apply command:
# netplan apply
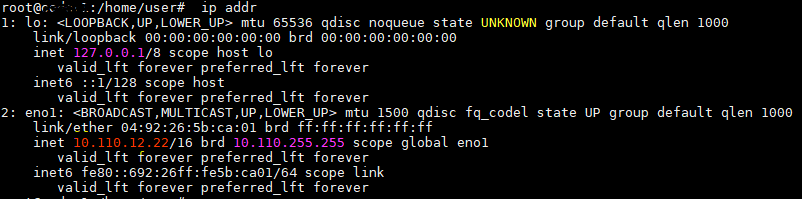
Check IP address
Now time to check the IP address by command:
# ip addr
Troubleshooting
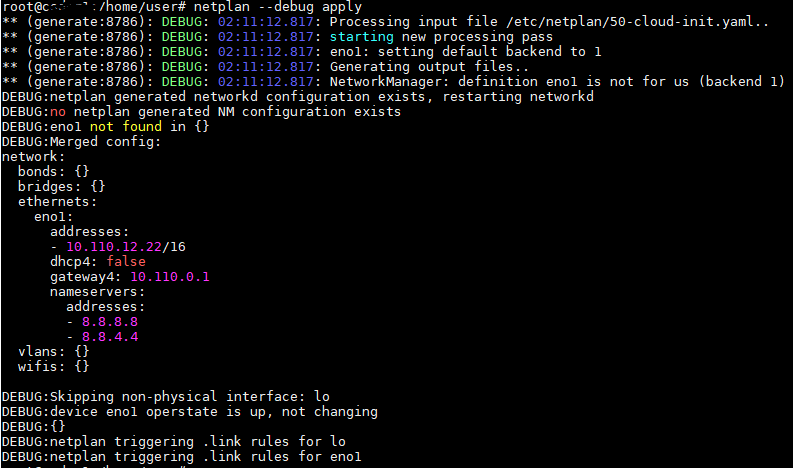
In case if you have errors you can investigate by command and find out syntactical errors:
# netplan --debug generate
or
# netplan --debug apply
Example output: