How to Configure FreeNAS 11.2 Windows Share

How to Configure FreeNAS 11.2 Windows Share. Step by Step
In this article I will show how to configure FreeNAS 11.2 Windows Share with new FreeNAS GUI. FreeNAS in 11.2-RELEASE introduce web interface and new features. For configuration from old (Legacy Web Interface) read this article.
Also i will show how to access from Windows 10 to FreeNAS shared SMB folders.
1. Add New FreeNAS User
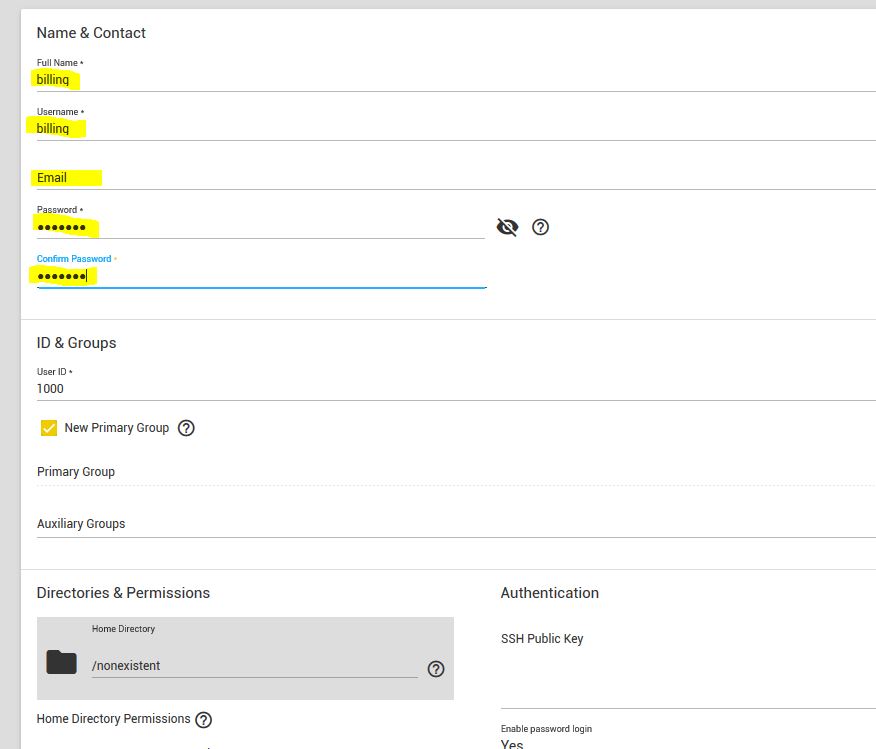
In the first step we need add FreeNAS user.
To add new user
- From left pane go to Accounts -> Users, press “ADD” button in upper right corner
- Fill with the name, username, and password all necessary fields.
In my example user is billing.
2. FreeNAS 11.2 Create Dataset
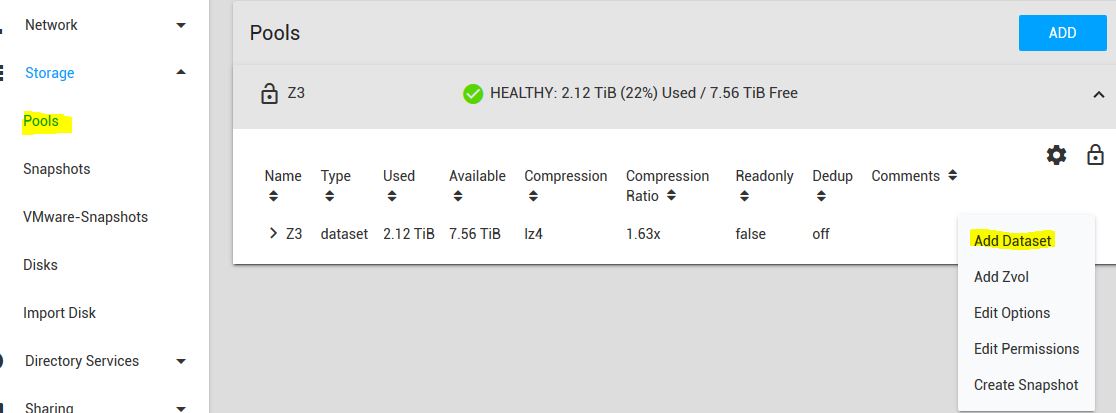
Now we need create and configure new Dataset for SMB share. To create new dataset in FreeNAS 11.2
- Go to the left pane, Storage -> Pools
- Then click on three doted button next to the selected Pool. and choice “Add Dataset“.
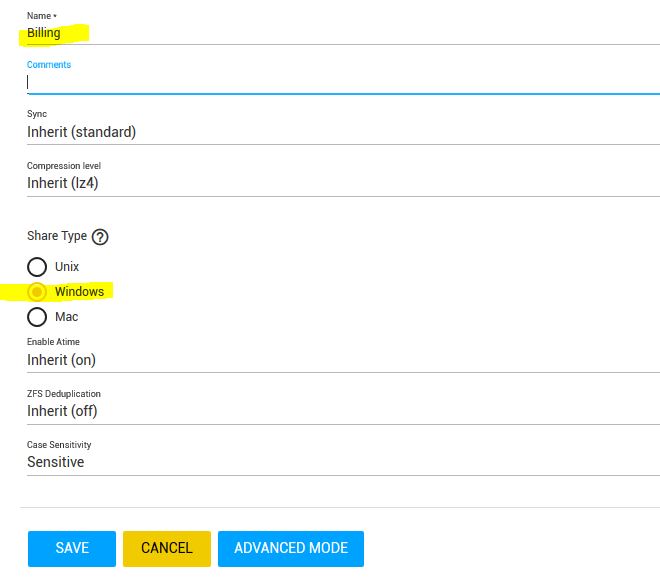
- Fill name field with Dataset name (for example Billing)
- Change Share Type to Windows
- Click SAVE button
3. Freenas 11.2 Windows Share Permissions
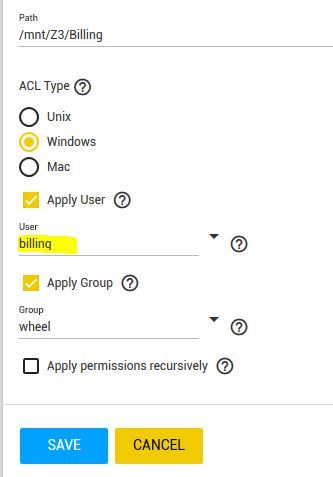
To edit Dataset Permissions click to the new created Dataset (Billing) settings and select the “Edit Permissions” option
- From drop-down menu select new created user in step 1 (in our case billing)
- Click SAVE button
4. FreeNAS 11.2 Create Windows Share
To create SMB Share:
- Click on Sharing -> Windows (SMB) Shares on the left pane
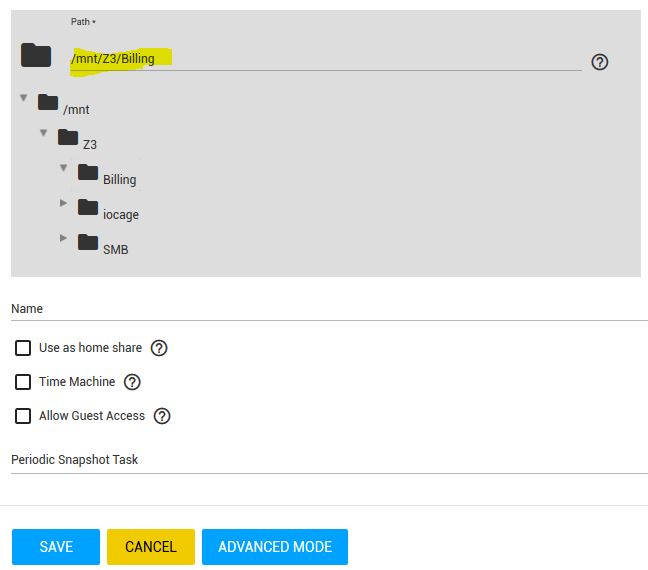
- Click ADD button
- In Patch section click on the folder and navigate to the folder which you need to share (as shown on picture)
- Click SAVE button
Map FreeNAS Drive Windows 10
Now we can map our FreeNAS SMB share to Windows 10
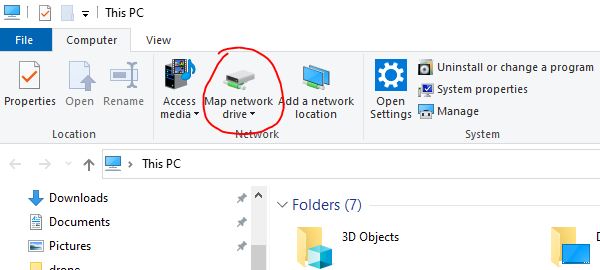
- Open Windows file explorer
- Click “Map network drive” button
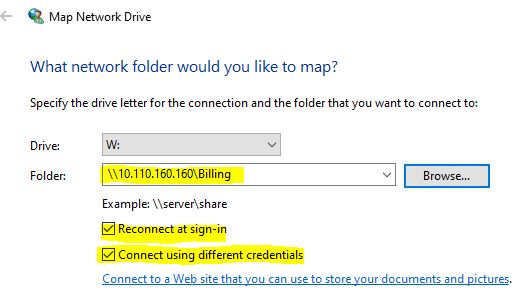
In next network drive mapping wizard:
- Select drive letter
- And add patch to the network share on FreeNAS
- Optional you can check “Reconnect at sign-in” checkbox if you need
- And click FINISH button on the wizard.
After this final step your you can use shared folder on your Windows 10 PC.
Read also: Best Hard Drives for NAS of 2020