How to Push an Existing Local Project to GitLab

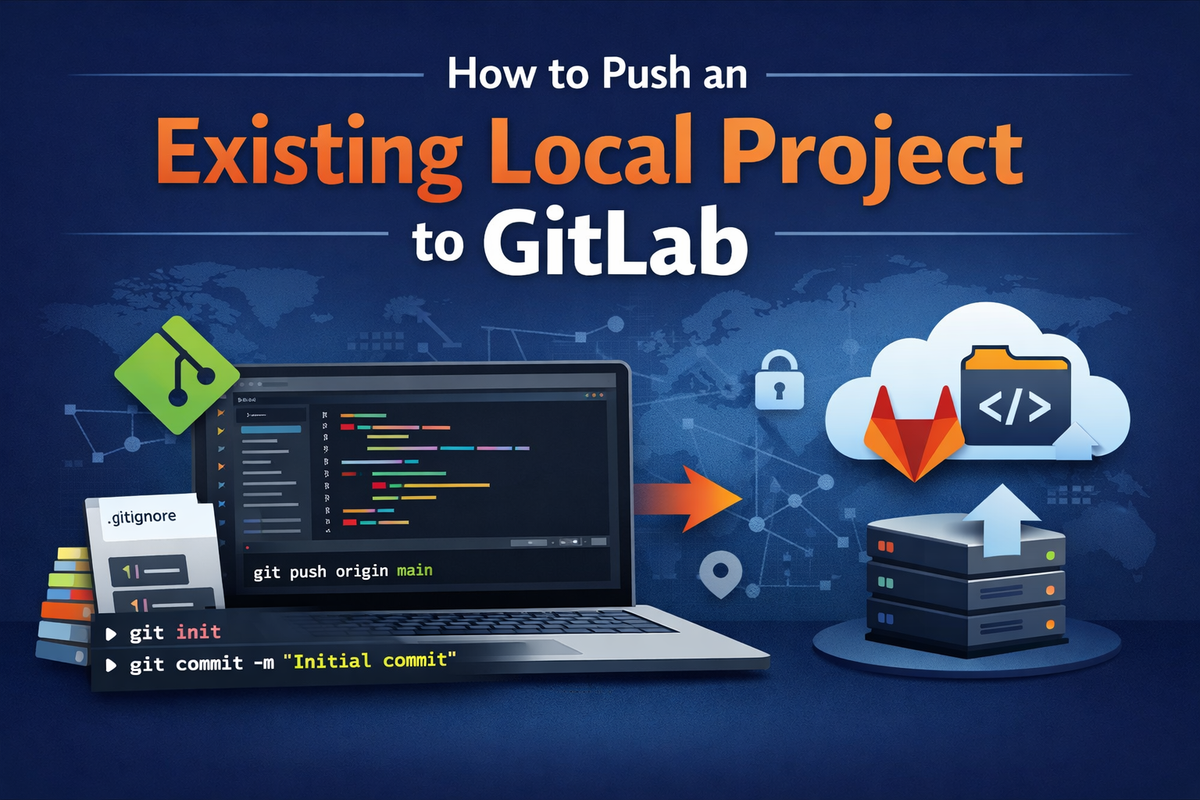
If you already have a local project with real code and need to push it to GitLab—but no repository exists yet—this guide walks you through the correct, clean, and production-safe workflow.
This article is written for developers, DevOps engineers, and homelab users who want a reliable Git workflow, not shortcuts. Every step is intentional. Nothing here assumes a freshly created project or a pre-existing remote repository.
By the end, your local project will be properly versioned, connected to GitLab, and ready for normal day-to-day Git usage.
What This Scenario Actually Is
You have:
- A local project directory with existing files
- Code already opened in an editor (for example, Visual Studio Code)
- No repository created on GitLab yet
- No remote configured
This is not the same as cloning a repository.
This is a local-first Git workflow, and it must be handled carefully to avoid history conflicts and rejected pushes.
What Does “Push an Existing Project” Mean in Git Terms?
From Git’s point of view:
- Files alone do not matter
- Only commits can be pushed
- A remote repository must exist
- A local branch must match the remote branch
So the job breaks down into four logical steps:
- Turn the local directory into a Git repository
- Create the first commit
- Create an empty repository on GitLab
- Connect both and push
Skipping or reordering these steps is the most common cause of errors.
Why This Goes Wrong So Often
Most problems come from one of these mistakes:
- Creating files on GitLab first
- Forgetting the initial commit
- Using mismatched branch names
- Adding the remote too late
- Mixing authentication methods
This guide avoids all of them by design.
Step-by-Step: Push an Existing Local Project to GitLab
Step 1: Open the Project Root
Make sure you are working in the root directory of your project.
Confirm that this directory contains:
- Source code
- Configuration files
- The real project structure
Running Git commands from a subdirectory will cause problems later.
Step 2: Verify Git Availability
Open a terminal inside your project directory and run:
git --version
You must get a version output.
If Git is not available, you cannot push code to GitLab—Git is non-optional.
Step 3: Initialize a Local Git Repository
Initialize Git in the project root:
git init
This creates a .git directory and does not change your files.
Verify repository status:
git status
At this point, Git sees your files as untracked.
Step 4: Create a .gitignore File
Before committing anything, define what should never be pushed.
Create .gitignore:
nano .gitignore
Example for most projects:
.env
node_modules/
.vscode/
.idea/
dist/
build/
*.log
Why this matters:
- Prevents secrets from leaking
- Avoids bloated repositories
- Keeps history clean from day one
Step 5: Create the Initial Commit
Stage all files:
git add .
git commit -m "Initial commit"
Git only commits files that are staged. git add . is mandatory for the first commit.
Without a commit, nothing can be pushed.
Step 6: Create an Empty Repository on GitLab
In GitLab, create a new project.
Critical rules:
- Choose Blank project
- Do not add a README
- Do not add a license
- Do not add a
.gitignore
The repository must be completely empty.
Why:
- Any file created on GitLab becomes a commit
- That commit will conflict with your local history
Step 7: Add GitLab as the Remote Repository
Copy the repository URL from GitLab (HTTPS or SSH).
Add it as origin:
git remote add origin https://gitlab.com/username/project-name.git
Verify the remote:
git remote -v
You should see origin pointing to GitLab.
Step 8: Ensure the Correct Branch Name
Check the current branch:
git branch
If the branch is not main, rename it:
git branch -M main
Why this matters:
- GitLab defaults to
main - Mismatched branch names cause push failures
Step 9: Push the Project to GitLab
Push and set upstream tracking:
git push -u origin main
What this does:
- Uploads your commit history
- Creates the
mainbranch on GitLab - Links local and remote branches
From now on, regular pushes work normally:
git push
Authentication Notes (Important)
If using HTTPS:
- GitLab no longer accepts account passwords
- You must use a Personal Access Token
If using SSH:
- SSH keys must be generated and added to GitLab
- Once configured, authentication is passwordless
Mixing HTTPS and SSH in the same repository is a common source of errors. Choose one and stay consistent.
Common Mistakes and Why They Break Things
Creating Files on GitLab First
Creates an extra commit and causes push rejection.
Skipping .gitignore
Results in secrets, dependencies, or build artifacts being pushed.
Forgetting the Initial Commit
Git cannot push files without commits.
Using Different Branch Names
Local master vs remote main causes confusion and failed pushes.
Re-running git init
Can corrupt repository state if misused.
FAQ
Can I push without creating the GitLab repository first?
No. Git requires a remote endpoint.
Can I change repository visibility later?
Yes. Public and private can be changed anytime.
Does this work for existing production code?
Yes. This is the correct way to onboard legacy projects.
Will this work with CI/CD later?
Yes. This is the expected starting state for GitLab CI/CD.
Final Checklist
- Project root selected
- Git initialized locally
.gitignorecreated- Initial commit completed
- Empty GitLab repository created
- Remote
originconfigured - Branch set to
main - Push successful
If any step is skipped, errors are expected—not optional.